I have seen firsthand that even a small gap between tile and cabinets can affect the entire appearance of a kitchen. When installing backsplash or wall tile, the area around cabinets requires careful attention because uneven spacing or poor layout decisions quickly become visible once the installation is complete.
When I guide homeowners through tile projects, I always explain that successful tile installation around cabinets depends on preparation, accurate measurements, and the right installation sequence. At Capital Kitchen and Bath, we focus on installation methods that create clean lines and a professional finish so the tile fits perfectly against cabinetry.
Why Proper Tile Installation Around Cabinets Matters
Kitchen tile must be both practical and visually balanced. If the layout is not planned correctly, the edges near cabinets can show uneven spacing, awkward cuts, or visible gaps that reduce the overall quality of the kitchen design.
I always begin tile projects with careful layout planning before the first tile is installed. When spacing and alignment are planned in advance, the tile pattern remains consistent across the entire backsplash area.
Homeowners often assume tile installation simply involves attaching tiles to the wall. In reality, cabinets, countertops, and corners must all be considered to ensure the tiles align properly without leaving gaps.
When the layout is correct from the beginning, tile installation around cabinets becomes much easier and produces a clean professional result.
Common Causes of Gaps Around Cabinets
Many tile installation problems occur because planning steps were skipped before the work began. I have seen projects where installers started placing tiles immediately without considering how the final rows would meet cabinets or corners.
Several common mistakes can lead to visible gaps around cabinets.
• Incorrect tile measurements before installation
• Poor alignment during the first row of tile placement
• Uneven wall surfaces behind cabinets
• Lack of tile spacers during installation
• Inaccurate tile cutting near cabinet edges
Identifying these issues early helps prevent gaps and improves the final appearance of the tile work.
Planning the Tile Layout Before Installation
Proper layout planning is one of the most important steps for successful tile installation around cabinets. Before installing any tile, I always measure the wall space carefully and determine how the tiles will align with cabinet edges, outlets, and corners.
Without a clear layout plan, installers often realize spacing problems only after several rows of tile have already been installed. At that point, correcting the layout becomes much more difficult.
Planning the layout helps maintain balanced tile spacing and ensures the final row fits neatly against the cabinets.
Measuring and Marking the Tile Area
Accurate measurements are essential when installing tile near cabinetry. I always begin by identifying the center of the installation area and checking how full tiles and cut tiles will align across the wall.
Several preparation steps help ensure a balanced tile layout.
• Measure the full backsplash area carefully
• Mark horizontal and vertical reference lines on the wall
• Confirm how tiles will align with cabinet edges
• Adjust the layout to avoid extremely small tile cuts
• Verify spacing around outlets and corners
These steps create a symmetrical tile pattern and prevent uneven gaps around cabinets.
Preparing the Surface Before Installing Tile
Even perfectly cut tiles will not align properly if the wall surface behind them is uneven. Small bumps or imperfections in the wall can push tiles out of alignment and create visible spacing problems.
Before beginning installation, the wall must be properly prepared. This usually includes cleaning the surface, repairing damaged areas, and ensuring the wall is flat enough to support the tile evenly.
Establishing a Level Starting Line
Tile installation depends heavily on a straight starting point. I always create a level reference line along the bottom of the backsplash area before placing the first tile.
If the first row is not level, every row above it will gradually shift out of alignment. Maintaining a level starting line ensures that tile installation around cabinets remains straight and consistent throughout the entire backsplash.
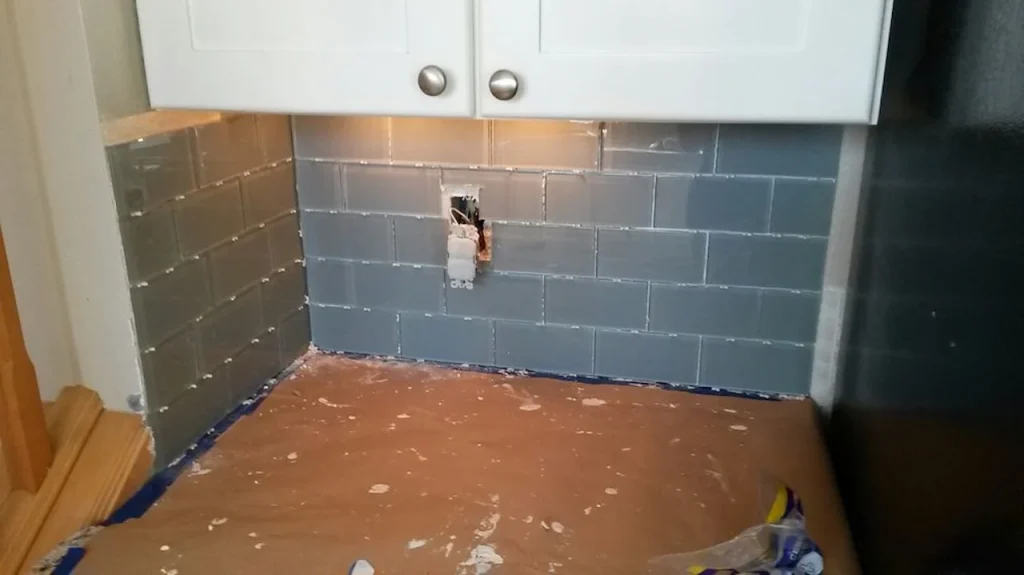
Cutting Tiles Accurately Around Cabinets
One of the most challenging parts of backsplash installation is cutting tiles so they fit tightly against cabinet edges. Precision cutting helps prevent uneven spacing and ensures a professional finish.
Tiles often need to be trimmed to fit around cabinet frames, outlets, and corners. Without careful measurements, these cuts can leave noticeable gaps.
Best Practices for Clean Tile Cuts
Using the correct tools and techniques improves tile fitting and helps maintain consistent spacing.
• Use a high quality tile cutter or wet saw
• Measure each tile cut carefully before trimming
• Test fit the tile before applying adhesive
• Maintain consistent spacing with tile spacers
• Trim tiles slowly to prevent edge damage
These techniques ensure tiles fit tightly around cabinets and maintain a clean backsplash pattern.
Maintaining Consistent Spacing During Installation
Consistent spacing is essential for a professional backsplash installation. I have seen many projects where gaps appeared simply because spacing between tiles was inconsistent.
Tile spacers help maintain even grout joints and keep the pattern aligned across the wall. They also prevent tiles from shifting while the adhesive is drying.
When spacing remains uniform from the first row to the last, the backsplash looks balanced and visually appealing.
Maintaining this alignment is a key part of successful tile installation around cabinets.
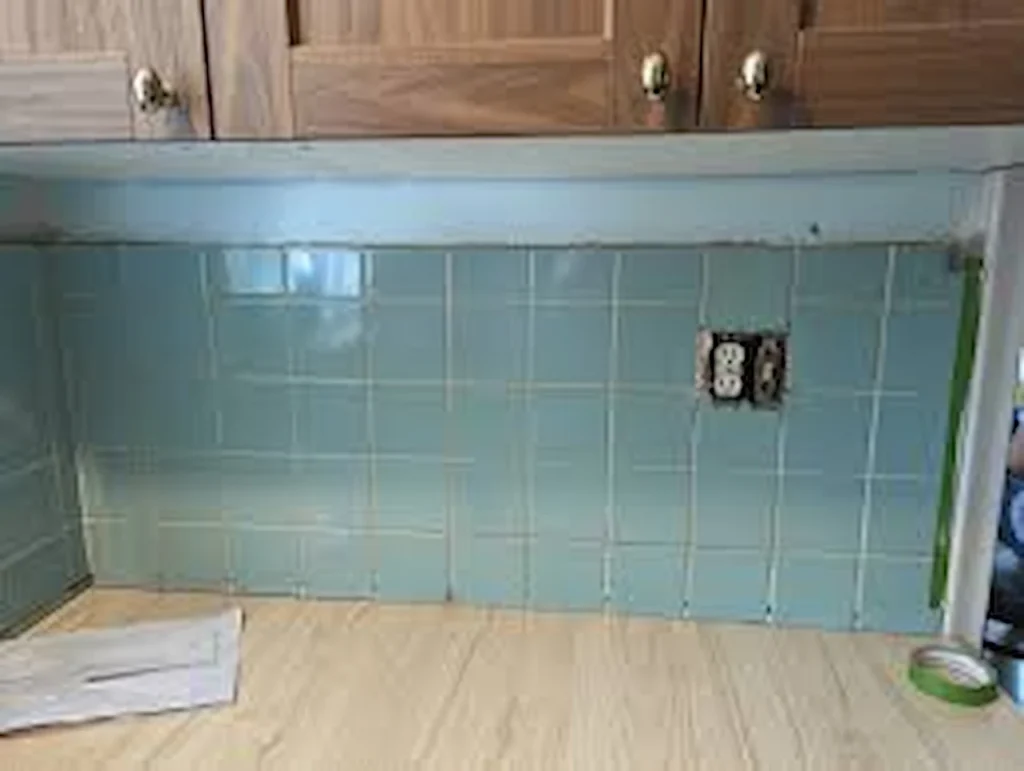
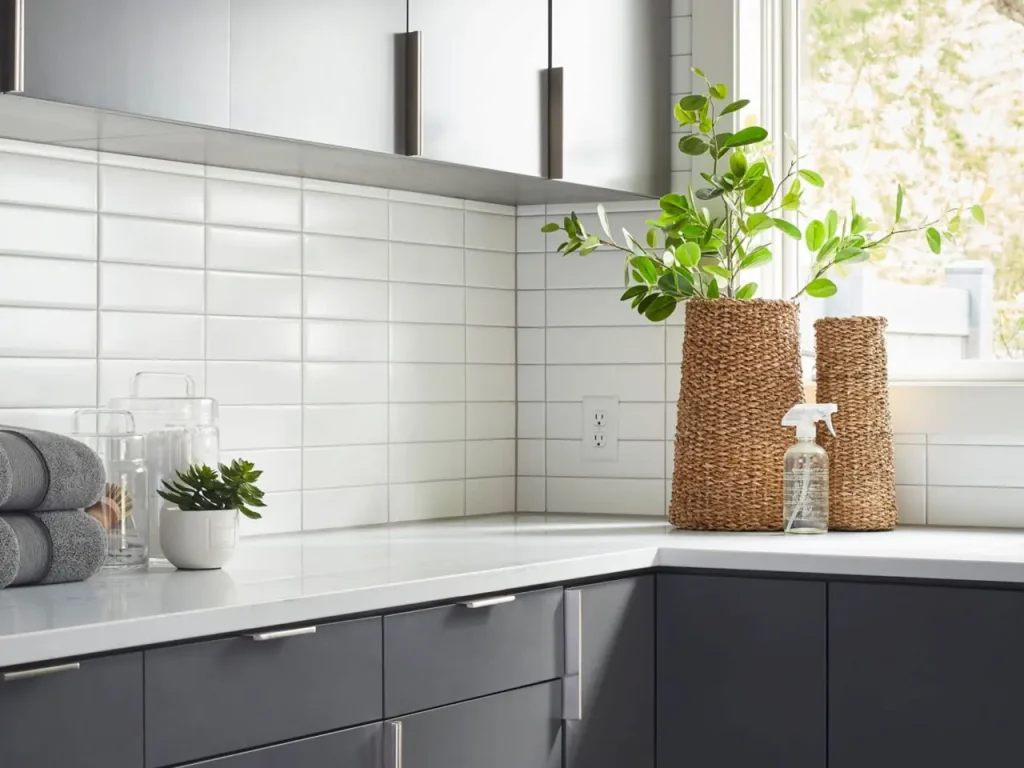
Finishing Tile Edges Around Cabinets
Even when tiles are placed correctly, the edges near cabinets must be finished carefully to create a polished result.
Finishing techniques help hide small imperfections and create a smooth transition between the tile surface and the cabinetry.
Several finishing solutions can improve the final look.
• Tile trim pieces that cover exposed edges
• Caulking where tile meets cabinet frames
• Matching grout lines for a uniform appearance
• Edge finishing strips for smooth transitions
• Careful grout application along cabinet edges
These finishing details help ensure the tile installation looks clean and professionally completed.
How Professional Installation Prevents Tile Gaps
Tile work requires both precision and experience. I have seen firsthand how professional planning prevents alignment problems and uneven cuts.
Experienced installers evaluate the entire backsplash layout before placing the first tile. This ensures that tile rows align correctly with cabinets, outlets, and countertop edges.
At Capital Kitchen and Bath, we approach every tile project with detailed preparation and accurate measurements. By focusing on proper layout planning, surface preparation, and careful cutting techniques, we help homeowners achieve reliable and attractive tile installation around cabinets.
Conclusion
Installing tile around cabinets without gaps requires careful planning, precise measurements, and consistent spacing during installation. I have seen firsthand that when the tile layout is planned correctly before installation begins, it becomes much easier to maintain clean edges and balanced alignment.
Focusing on surface preparation, accurate tile cutting, and proper spacing helps prevent common installation mistakes. With the right approach, tile installation around cabinets can produce a durable backsplash that enhances the overall appearance of the kitchen.
Why Choose Capital Kitchen and Bath
At Capital Kitchen and Bath, we approach every tile project with careful planning and professional installation techniques.
• We provide expert kitchen renovation planning based on real project experience
• Our team focuses on precise tile layout and installation accuracy
• We design backsplash solutions that align perfectly with cabinetry
• Our installation methods prioritize durability and clean finishing
• We support homeowners with professional kitchen remodeling expertise
Frequently Asked Questions
How do you install tile around cabinets without gaps
Accurate measurements, careful tile cutting, and consistent spacing help ensure tiles fit tightly against cabinet edges.
Should tile be installed before or after cabinets
In most kitchens, cabinets are installed first and tile is placed afterward so the backsplash aligns properly with cabinet edges.
What causes gaps between tile and cabinets
Gaps usually occur when the tile layout is not planned correctly or when tiles are cut inaccurately during installation.
Can grout fix gaps near cabinets
Grout can fill small spaces between tiles, but larger gaps should be corrected during installation rather than covered afterward.
What tools help prevent gaps during tile installation
Tile spacers, levels, and precision tile cutters help maintain consistent spacing and alignment during installation.